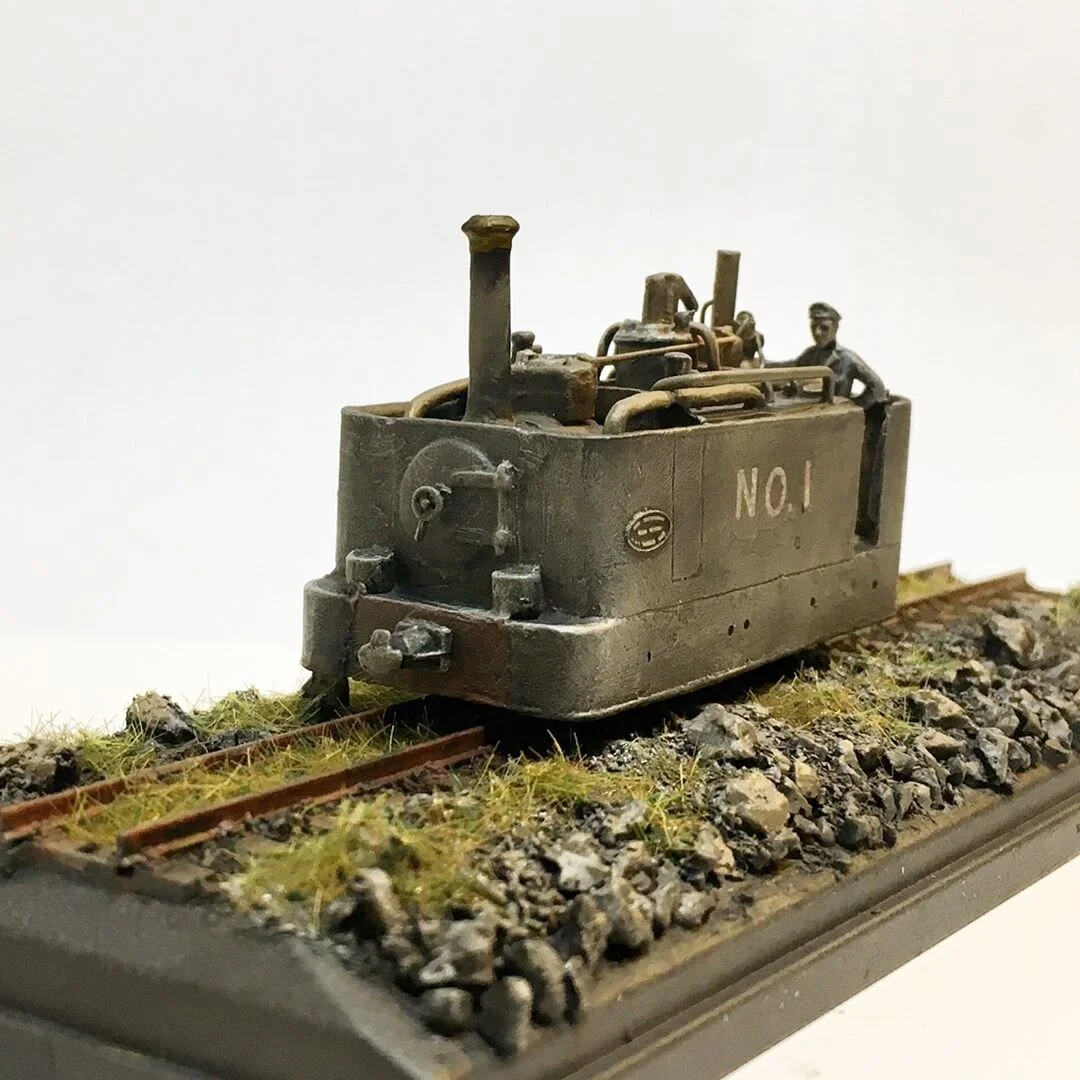
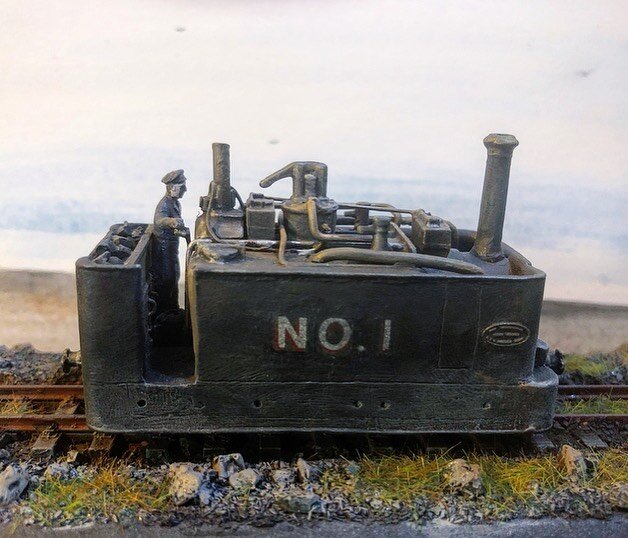
Tram loco No.1


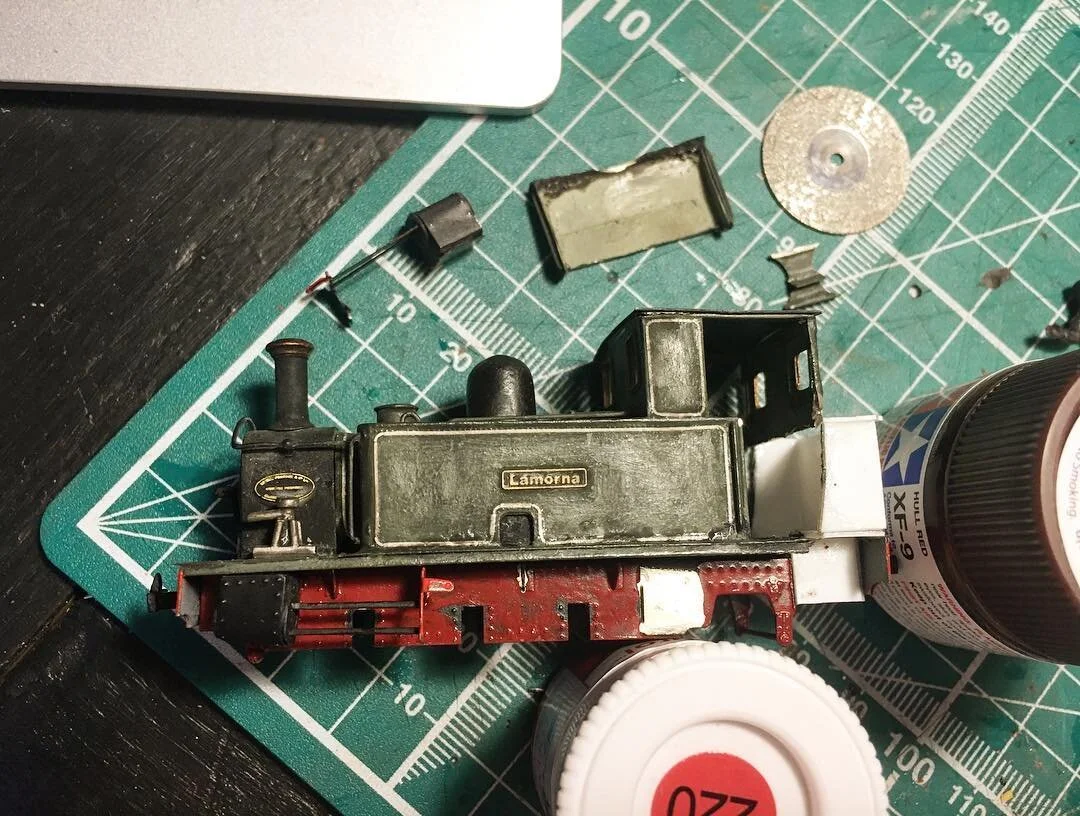
Beyer-Peacock 0-6-2T 'Lamorna'


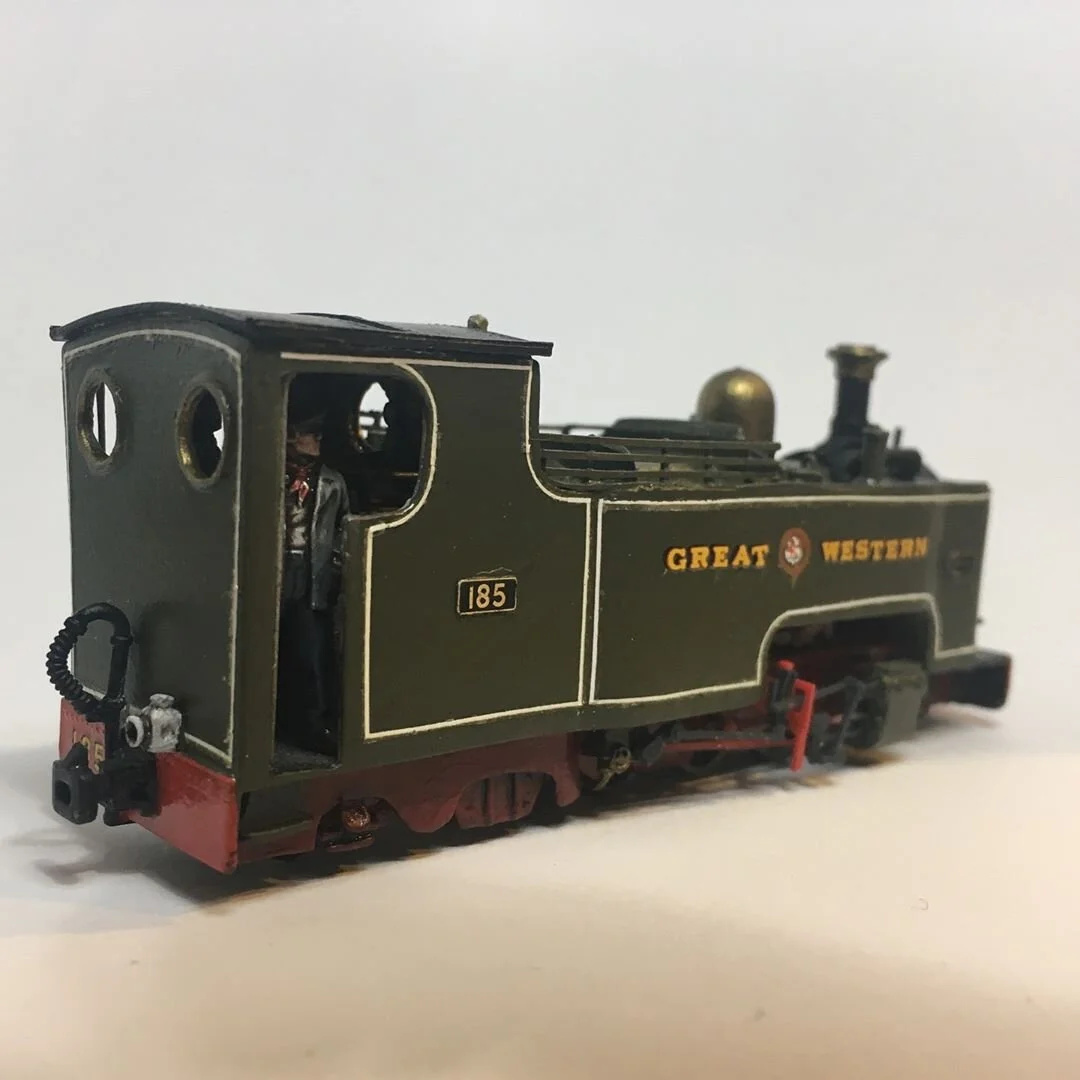
Great Western 2-6-2T No.185


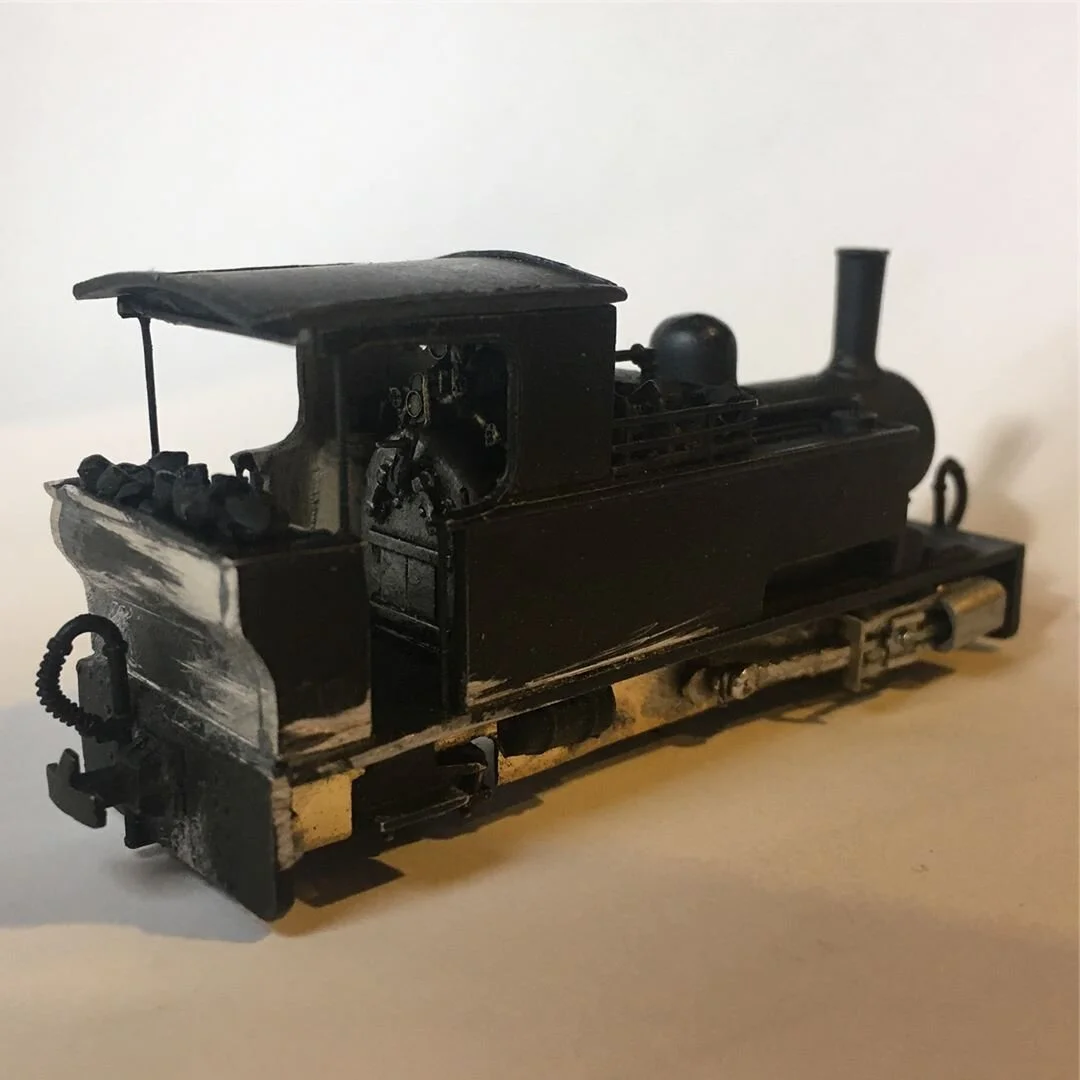
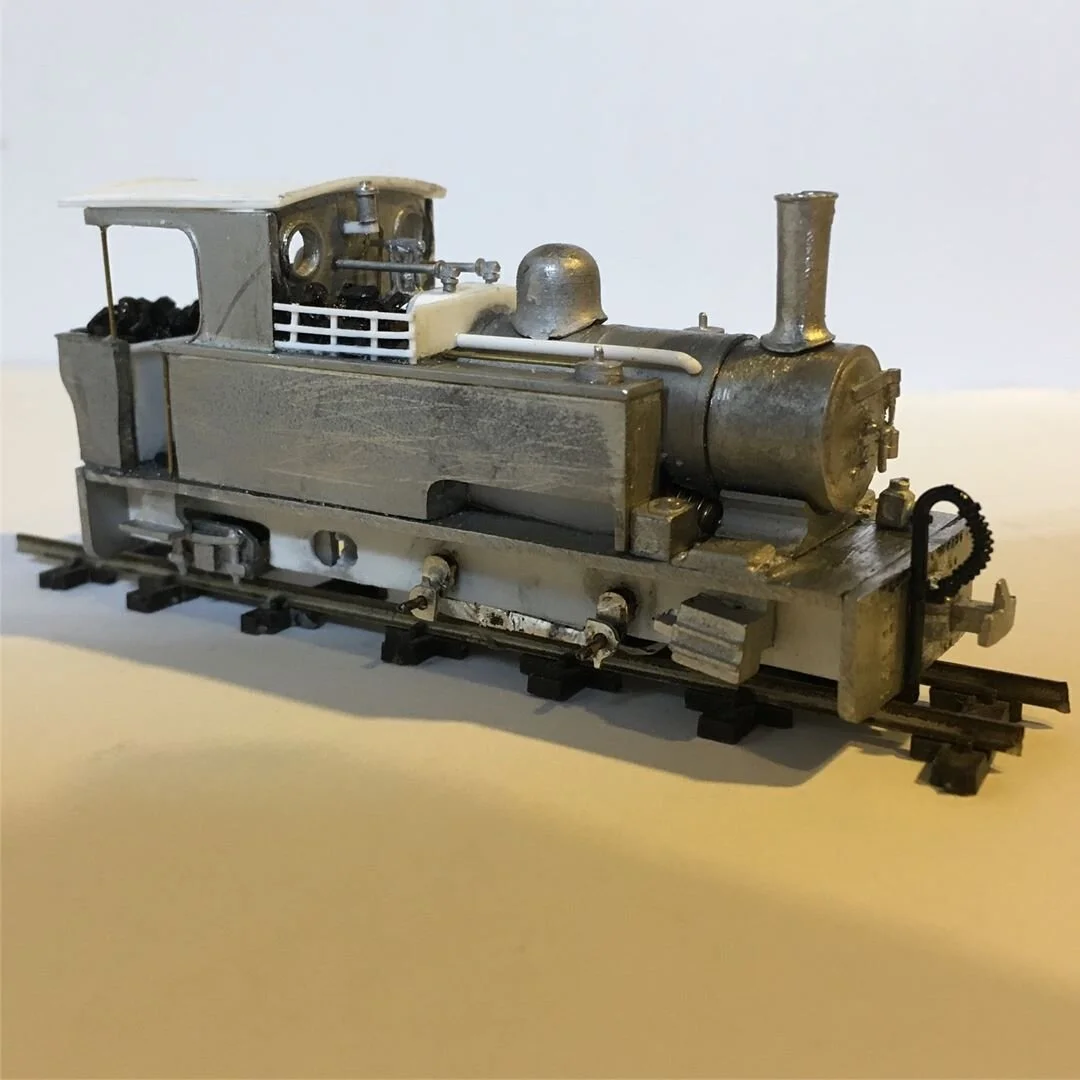
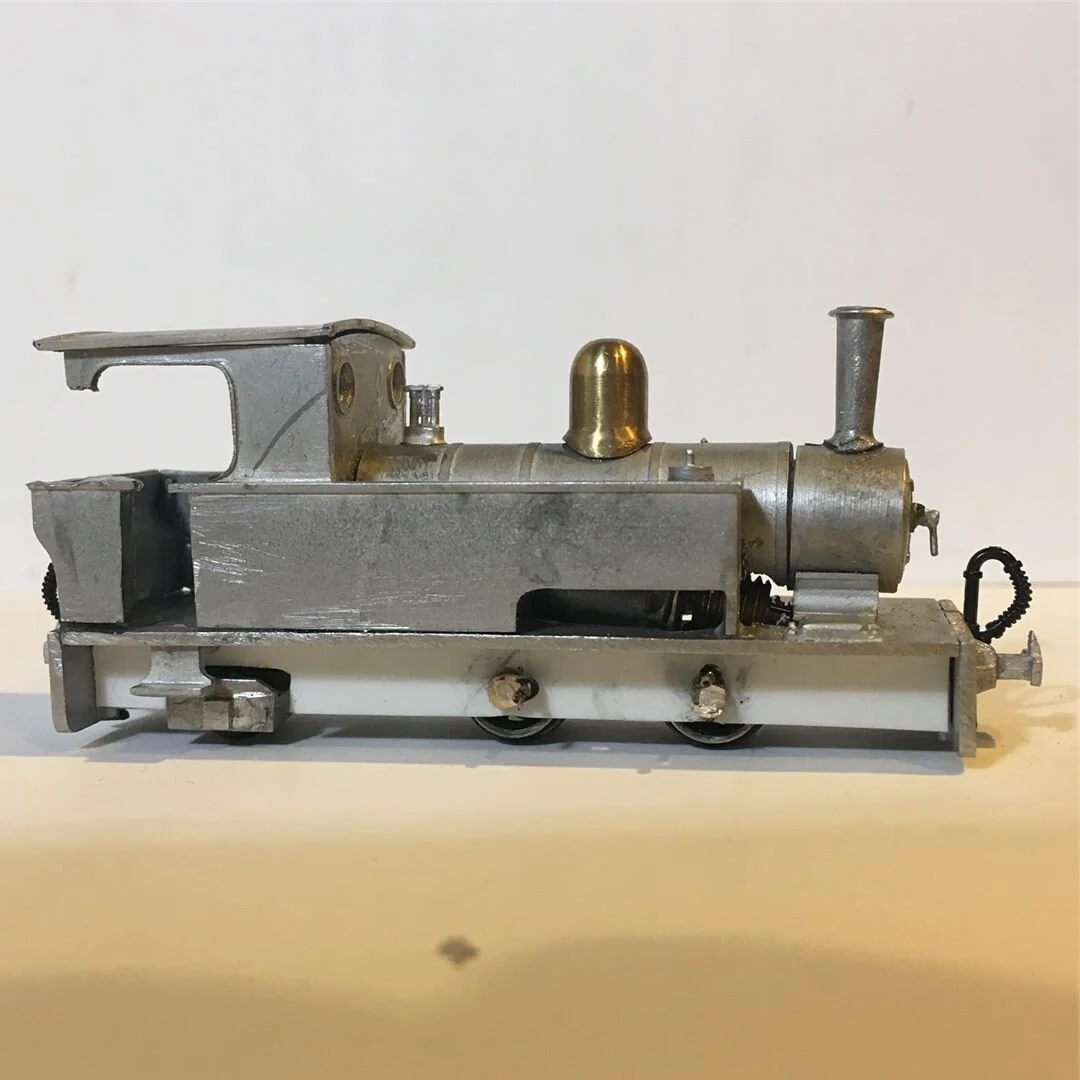
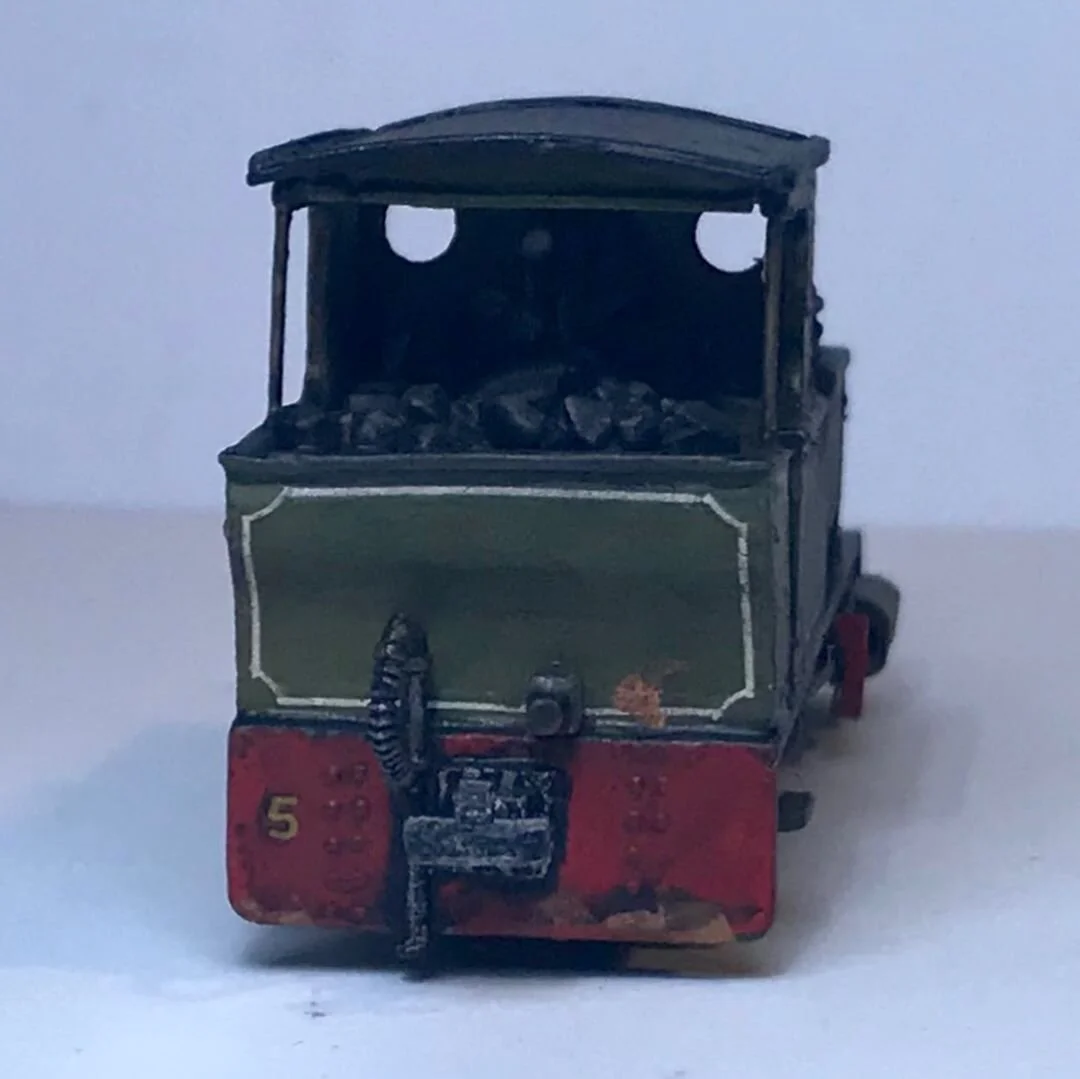
H&S Ltd No.5 Bagnall 0-4-2T


H&S Ltd No.6 Peckett 0-6-0T


H&S Ltd No.7 Manning Wardle 0-6-0ST


CEPC Peckett 0-6-0ST No.6 'Tryfena'


CEPC 4-6-2 No.2


Garratt K1


