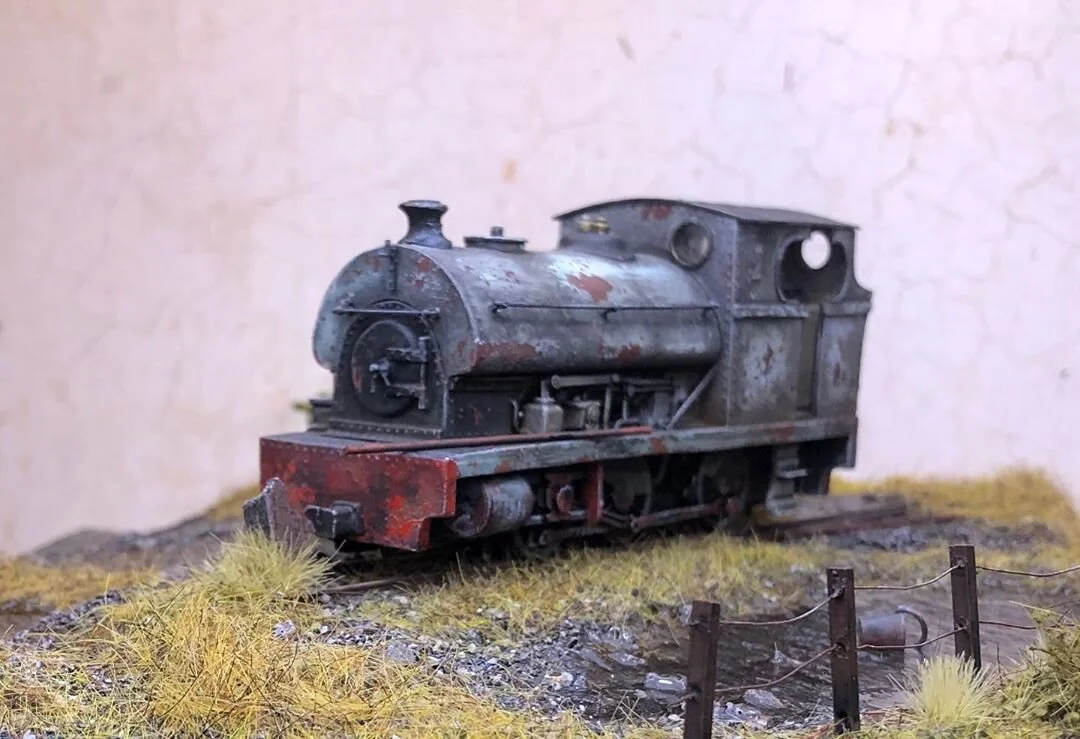
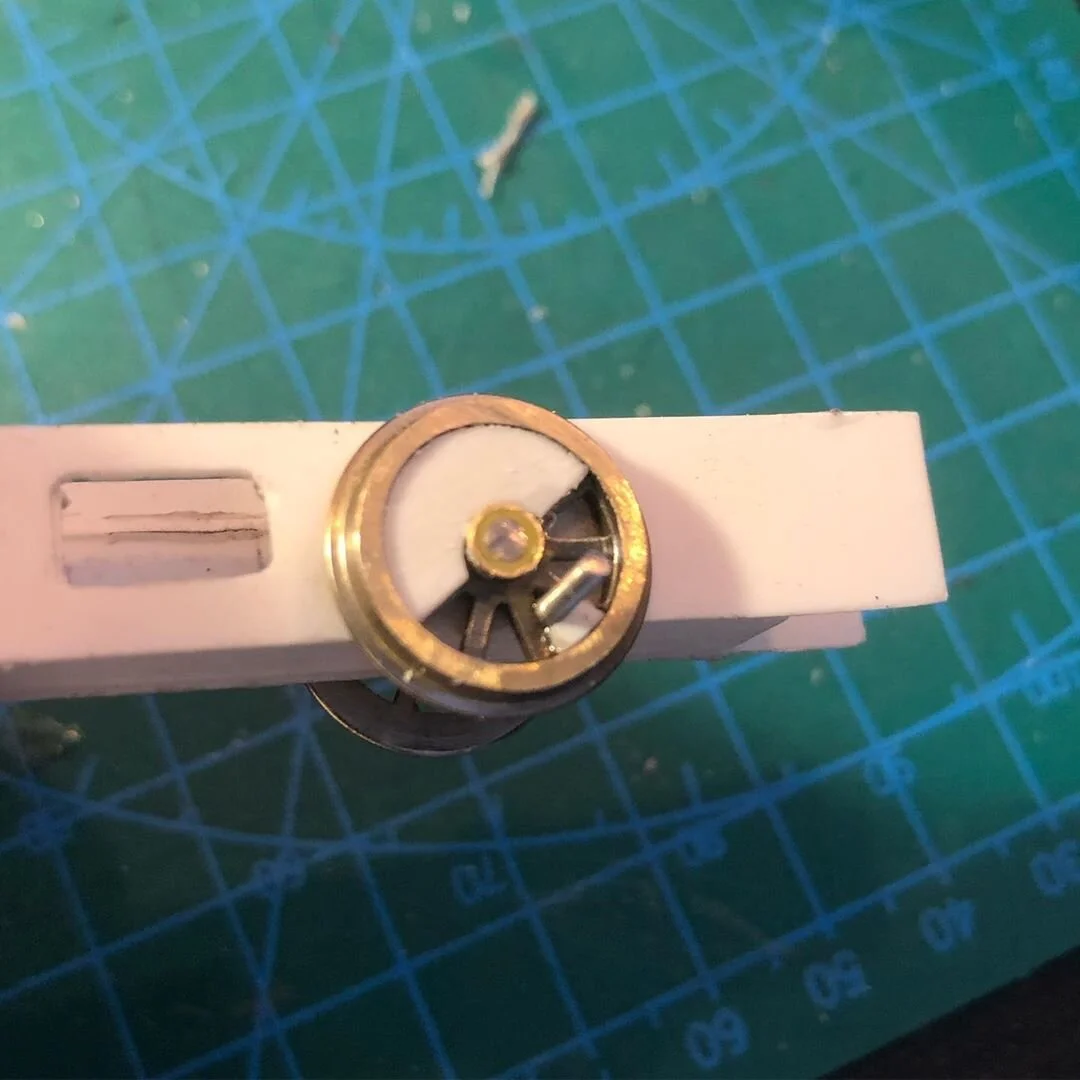
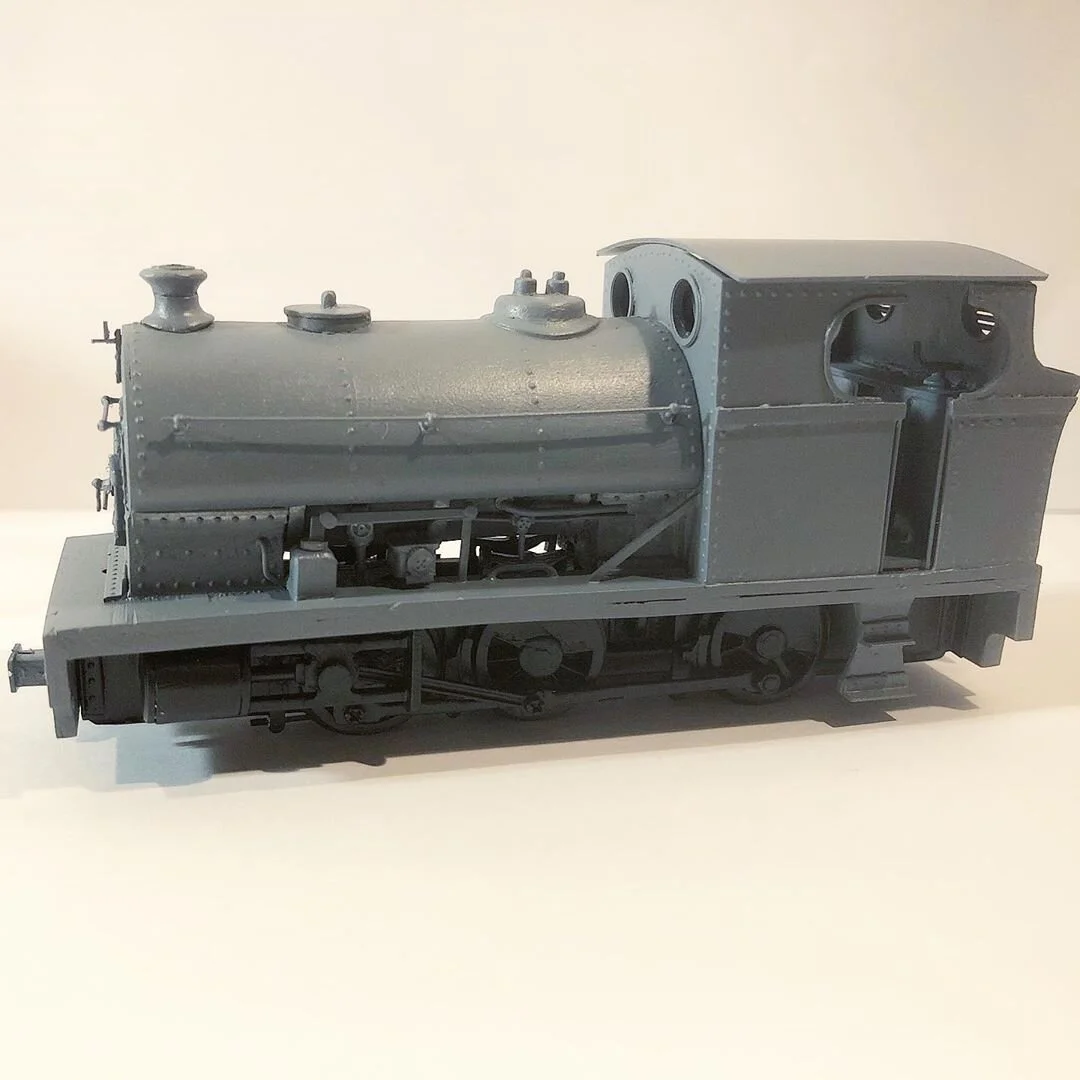
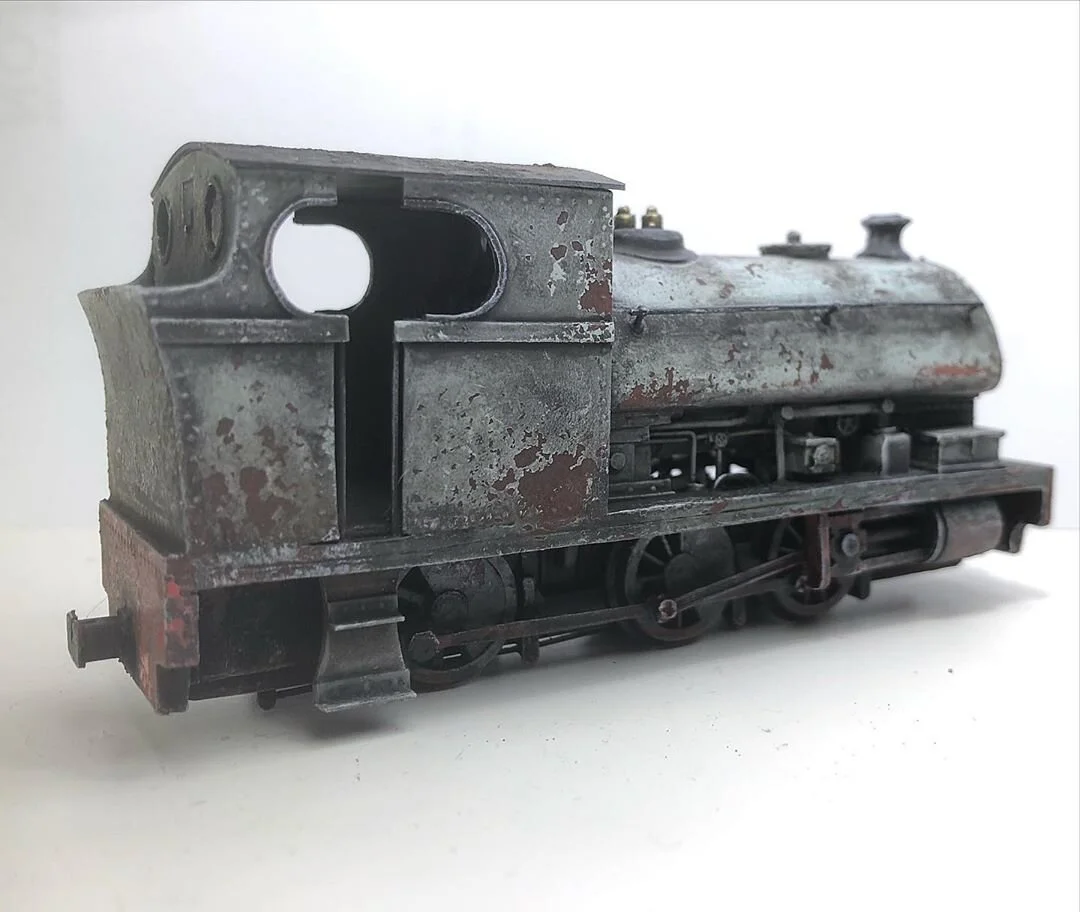
Peckett & Sons metre gauge 0-6-0ST No.2 of 1936 - works number 1874, sits out of use after 38 years working in the ironstone industry. Left in a siding at Corby’s ironstone furnaces, she’s awaiting the scrapyard torch, or will she be saved?
The sides glued with PVA, left to set overnight. Track glued down with super glue, then sand and fish tank stones used for scatter/ ballast. Next to glue it all down with watered down PVA and leave it for 24 hours to set.
There were three large 0-6-0 Peckett and Sons meter gauge locomotive working in the ironstone industry. Number 2 sits abandoned in 1974, Corby - The resin cast puddles have turned out really well on this model, I’m really pleased with the effect you can archive with resin and tacky glue. I think that’s another successful technique in my bag of tricks!
Here is the almost finished Ironstone Meter gauge diorama, I have been working on over the last month and a half. I’ve finally managed to get to grips with modelling water, and have managed to successfully pour resin. Please let me know what you think..
Finally finished the drawing of the locomotive I’ve started building. Is is a slightly modified version of the Stewarts and Lloyds minerals limited meter gauge Peckett and Sons 0-6-0 saddle tanks. There were a number of these Pecketts working in the Oxfordshire ironstone industry.
I’ve had plans to eventually start a 00n3 gauge project (00 gauge on 12mm track representing 3ft gauge) as I have so much track. So here is a start I’ve made on a Peckett from the Oxfordshire ironstone industry. It’s made with parts from an old Airfix Hunslet Austerity Kit.
Good progress on the chassis today. Although I’ve used the Airfix valve gear I will probably use white metal and brass replacements once I have found suitable ones, or I might modify these ones further. I made the connecting rods from strips of left over flets from Backwoods kits. Annoyingly my 0.8 drill bit is really blunt and was a pig drilling the holes for the crank pins. Oh well, I’ll hopefully be finishing the chassis in the next couple of days and starting the cab.
Great progress on the metre gauge 18in Peckett today. I’ve even managed to add the braking system, which looks great I think.. I really enjoy working on a slightly larger prototype than your typical 009 locomotive. I’m absolutely loving this meter gauge project too! I’ve spent a ton of time researching the Wellingborogh tramway, and it has certainly confirmed how much I like Peckett saddle tanks.
I’ve almost finished construction of the meter gauge Peckett. I must admit, I have cheated a little with the gauge, as I’m using 12mm track in 4mm scale, which represents 3ft in reality, but I’m calling it meter gauge which is 3.28ft. Of course this slightly incorrect track gauge is no different to 00 gauge being 16.5mm instead of 18.2mm or 009 gauge track being used to represent 2ft gauge. So I’m happy with the compromise, and it looks just right. I’m looking forward to printing the thing, but first I have to build a tool box, add hand rails, finish some of the cab pipe work, sanding gear, lamp irons, and add the roof. Oh! And then rivet strip it.
I managed to get the first coat of primer done before the rain started yesterday. Now I will sand the body smooth, and do a second coat of primer. The chassis is just free rolling for now. Once I’ve got my RC controller built I will add the motor, battery and receiver. For now I’m going to focus on the paint work.
I’ve almost finished the meter gauge saddle tank locomotive. It is still awaiting transfers and a little coal in the bunker, but for the most part it’s finished. I’m very pleased with the outcome and as its been built using the tank from a butchered Airfix austerity kit, styrene sheet, milliput and a hand full of odd bits from the bits box, I reckon the total cost of the build is about £8-10. The most unfortunate thing is the rear wheels have a different spoke pattern, so I have added a slightly different weight to the rear wheelset. The livery is based on the mighty ‘Mardy Monster’ in its last years of work at Tower Colliery. Very weathered and extra grimy. I have left the glass out of one of the rear windows to make it look as if it’s smashed, but I might still add another cracked one instead. It’s going to be difficult adding the transfers at this stage, but doing this type of paint work can’t be done with transfers already applied, as they will get ripped off the surface of the model..